Everything I have learned about repotting orchids (and haven’t managed to forget)
By Bob Findlay
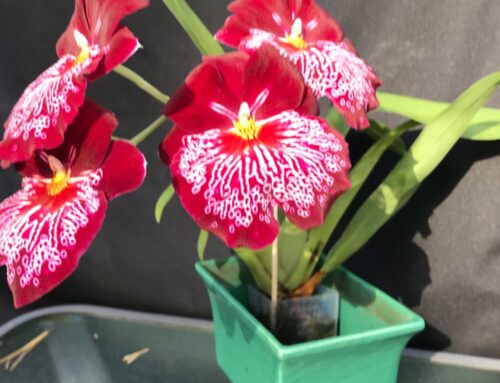
Step 1
Pick plant for repotting, remove and secure tag (photo 1). I this case I have chosen a Miltoniopsis – theses should be repotted yearly and this one was last repotted 2/19. Remember to practice good hygiene – sterilize tools and wash hands between plants. I have taken to using paper to catch old media (rather than a tub) and change after each plant.

Photo 1
Step 2
Remove plant from pot (photo 2). Grasp plant and pull. If plant is really stuck in the pot running an old bread knife along the pot can help (photo 3). Now and throughout take care not to damage new growths. When it does happen, don’t fret too much – while this will set the plant back, they are plants and animals eat plants all the time – they have evolved contingency plans.

Photo 2

Photo 3

Photo 4

Photo 5

Photo 6
Step 3
Using a potting tool (see photo 4 for my favorite potting tool) lift roots and pry away old media (photo 5). Once the majority of the old media is removed a quick trip to the sink (photo 6). If I and the plant have done our jobs there should be many white healthy roots and few dead or dying roots.
Step 4
Back at the bench to finish removing any remaining potting material and inspect the root mass. In 2019 this plant originated as a “blooming size – grower’s choice” from Hawaii ($10) and these tend to be overgrown plants in need of repotting. During the initial repotting it broke into several pieces and this plant was potted up as single pseudobulb and two growing leads. Close inspection shows that the roots from the original pseudobulb have died and need to removed. Cut dead roots away using you potting shears (photo 7). Photo 8 shows the trimmed root mass and photo 9 the removed dead roots.

Photo 7

Photo 8

Photo 9
Step 5
Chose the correct pot. This plant could either go back in the same pot (2.5 inch aircone; photo 10 top) or be moved up to the next size (3 inch aircone; photo 10 bottom). If there was any indication that this plant was struggling I would have left it in the 2.5” pot, but since the root mass increased since last potting and there are three new growths putting out roots, I moved it up to the 3” pot. If you have any doubt, put it in the smallest pot that the roots will go into (one of the best ways to kill an orchid is to put it in a pot too big for the root mass – remember the pot is for the roots, not the green stuff).

Photo 10

Photo 11
Step 6
Chose the correct medium (for: (1) the plant (read up on line); (2) your growing conditions; and (3) your watering habits (do you tend to water too frequently or not frequently enough)). I use a fine fir bark mix (photo 11 – I mix this myself – 3 parts fir bark, 2 parts course sponge rock (not perlite – too fine) and 1 part fine horticultural charcoal).
Step 7
Position the plant as far down in the pot as possible and add media (photo 12). Since the plant is growing in 3 directions, I positioned it in the center of the pot. If it were growing in 1 directions, I would but the old portion of the plant hard against one side.

Photo 12
Step 8
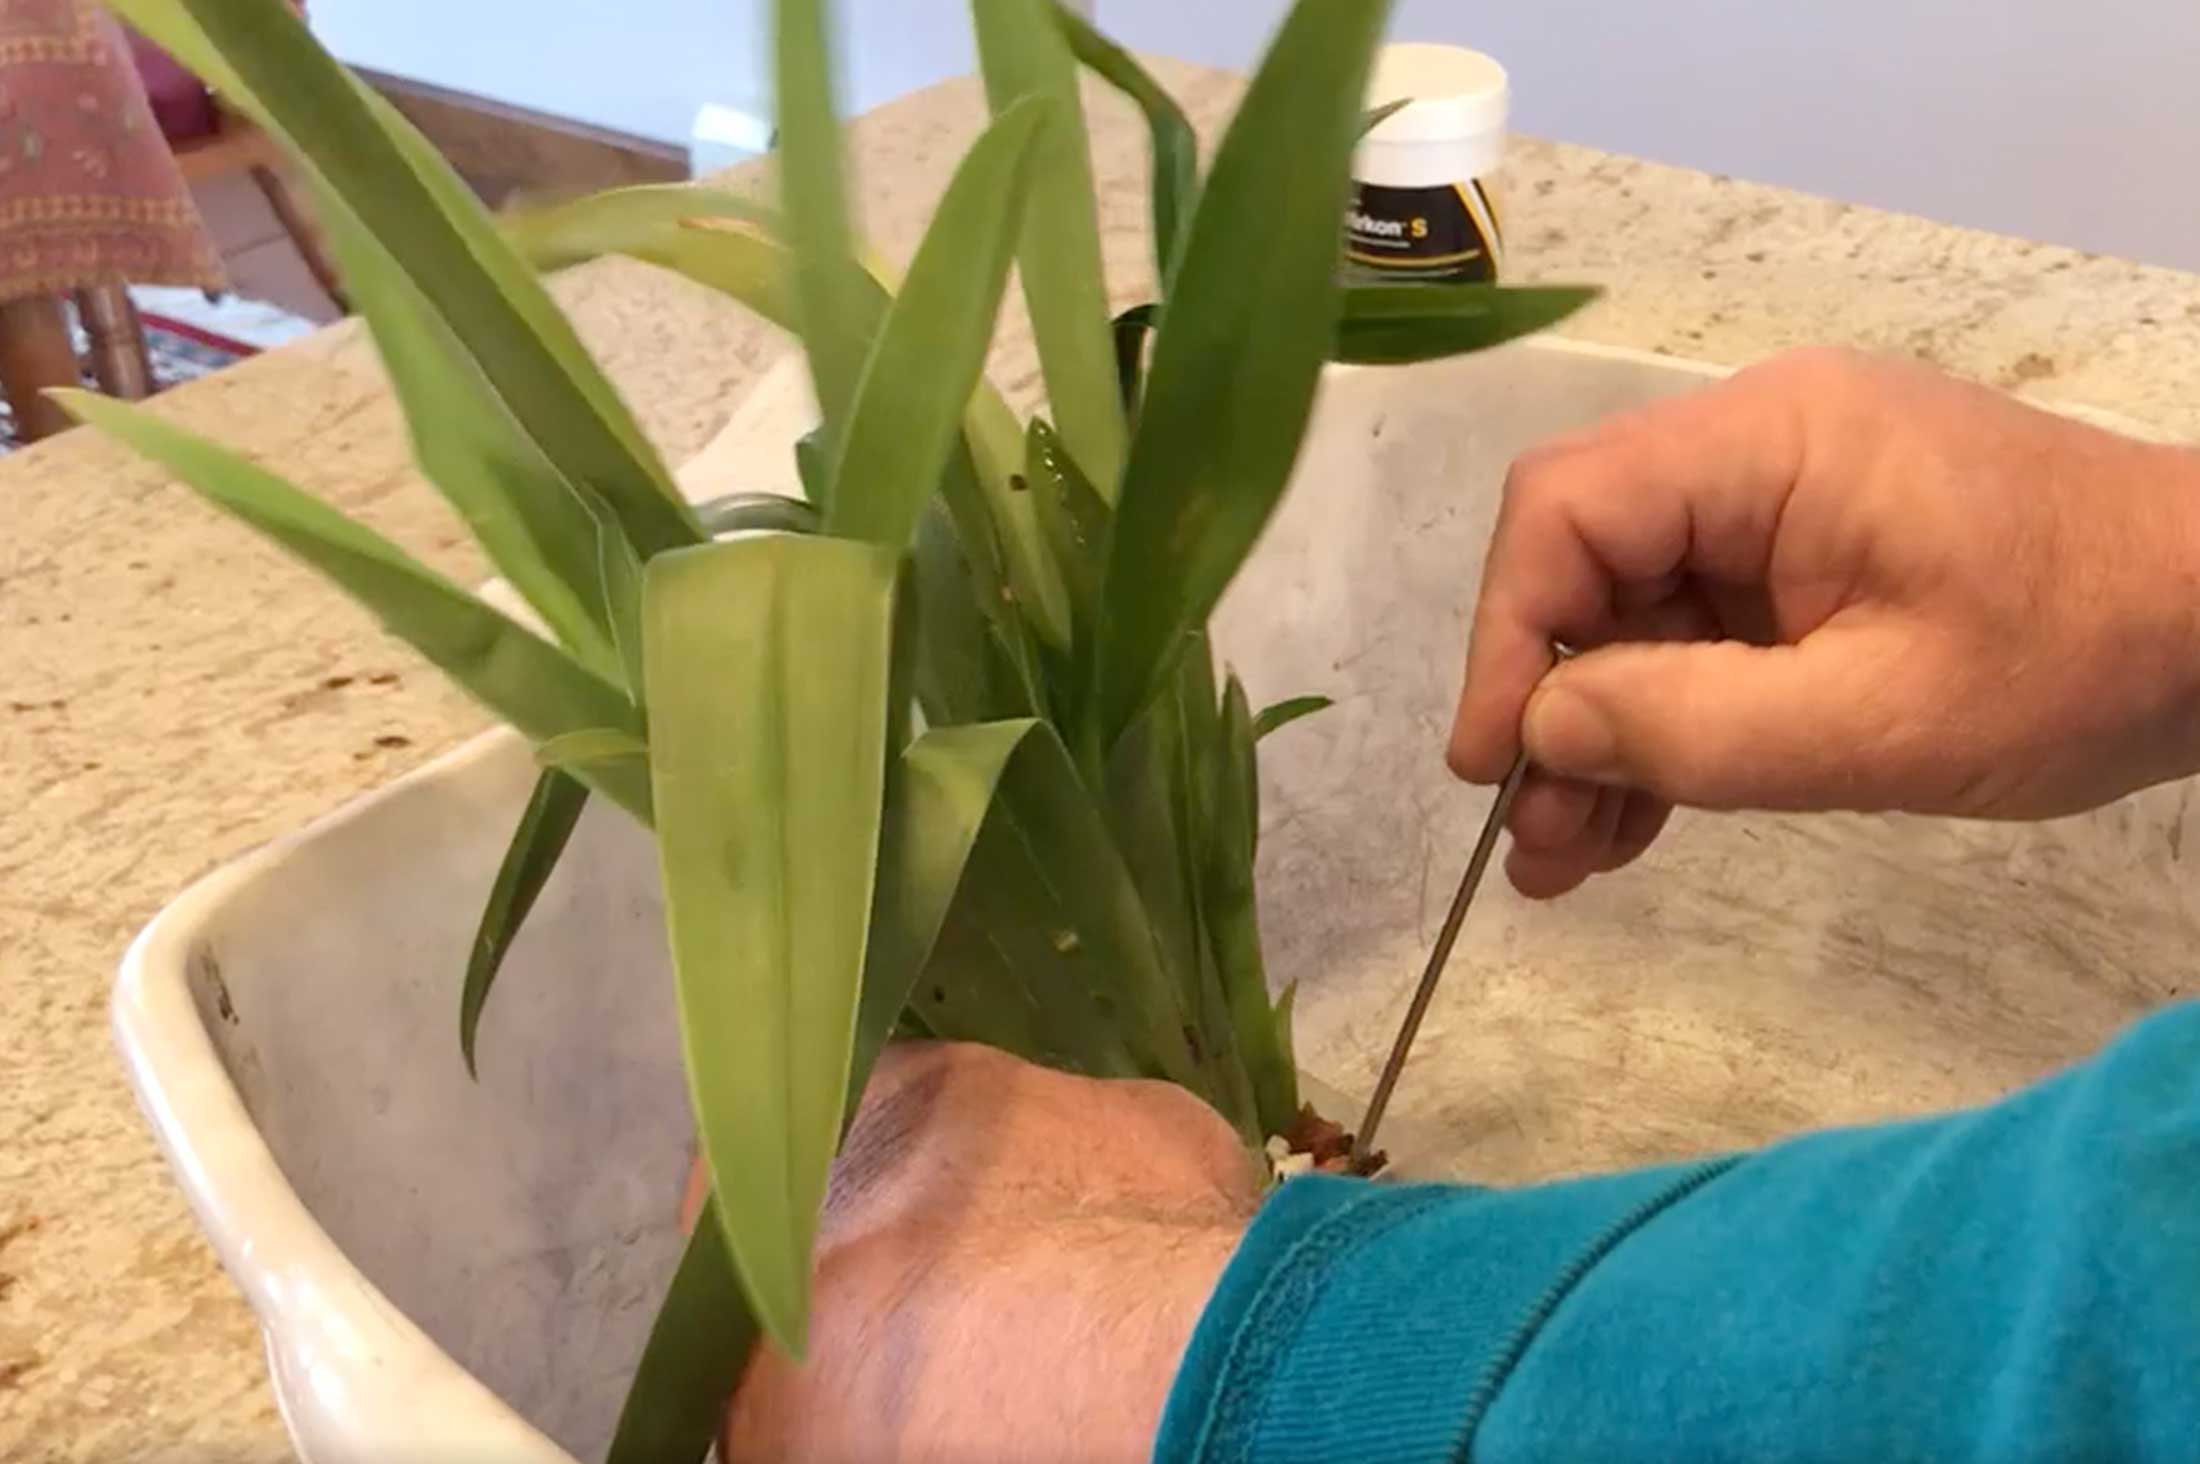
Using your potting tool, work the media down around the roots (this is the most critical part of the process). Hold the plant in one hand and wiggle the potting tool back and forth, and up and down to help the media move into the center of the pot (above video). If you watch the video carefully you will see that the media was at top of the pot and all but disappears as it is moved down and around the roots. Once you have worked all the media into the roots, add more media and while applying gentle upward pressure on the plant simultaneously work more media downward and the plant upward until the pseudobulbs reach the top of the pot and you can no longer get any more media into the pot (it may take 4 or 5 additions of media to fill the pot).
The goal is to spread the roots throughout the pot (top to bottom and side to side) and to firmly affix the plant in the pot.
Top off the pot and gently compress the media with your fingers. It should look like photo 13. Note I am holding the plant by the leaves – this is a good check that you have firmly established the plant in the pot. You can pick the plant up by the leaves and have the pot and media come with it (this works with plastic pots and fir-based medium; clay pots – likely not!).
Step 9
Update your tags (photo 14). I like to note divisions, results of testing (the OK 2020 denotes negative for viruses) and the date of repotting (5/20).
Step 10
Return tags to repotted orchid (no one wants to make an orphan).

Photo 13